
How to Master Storage for Camping Gear in Small Spaces
Make Storage for Camping Gear Simple in a Small Space
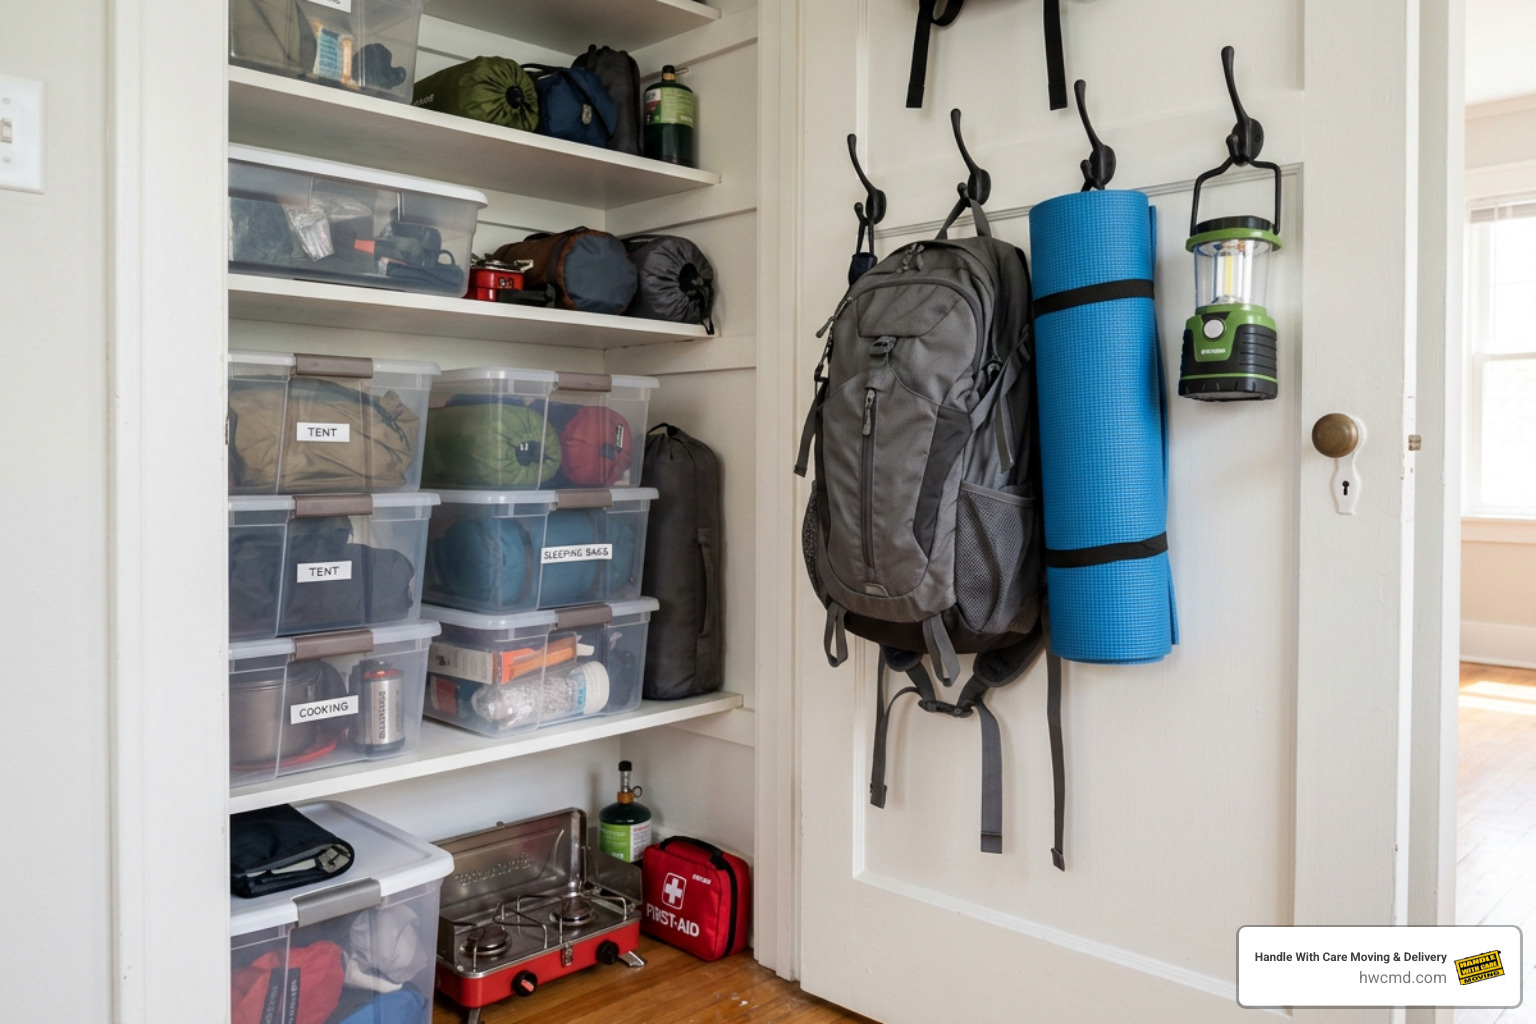
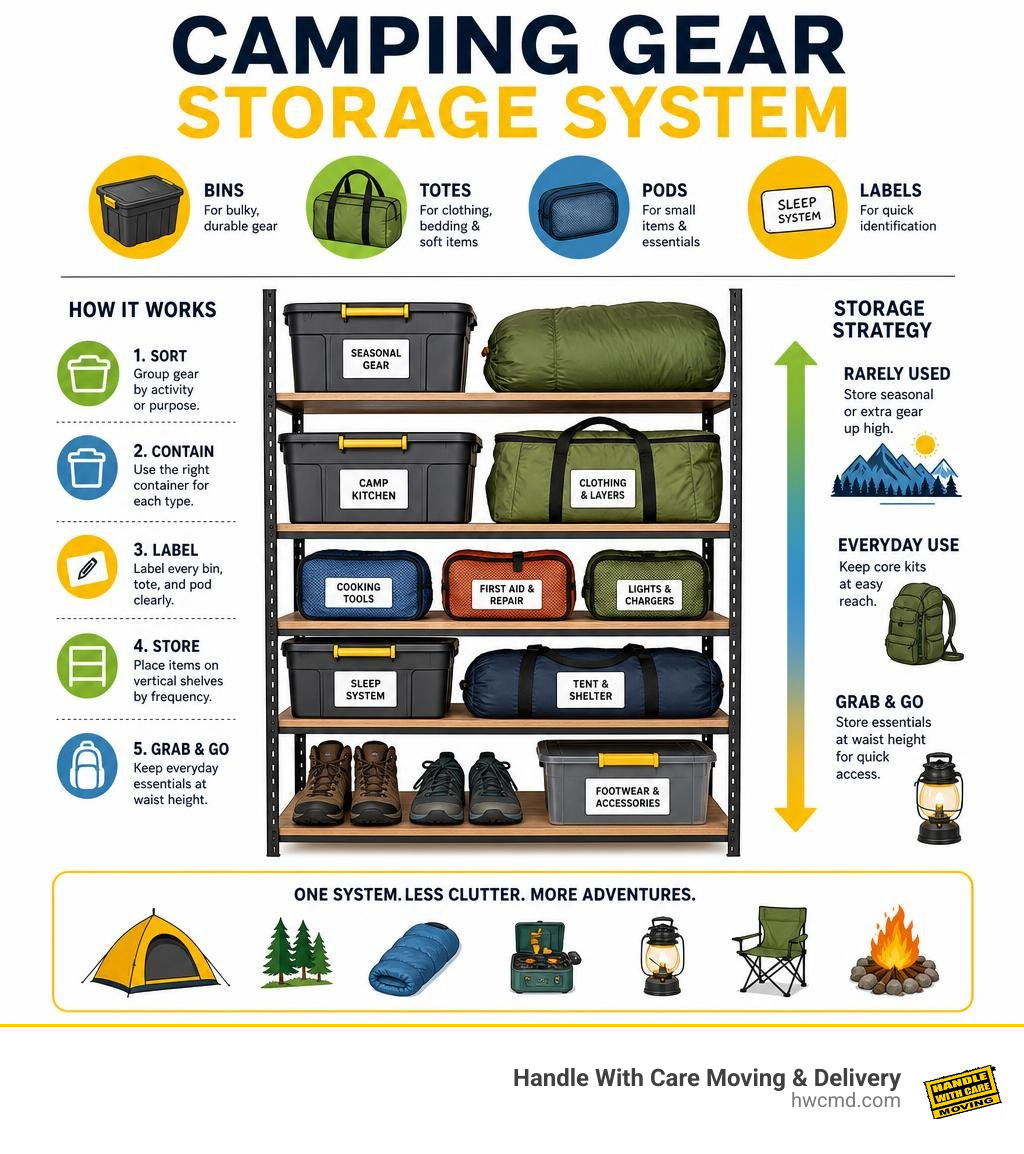
Storage for camping gear works best when you sort equipment by use, keep it in labeled containers, and store the most-used kits where you can reach them quickly. For a small closet, apartment, garage corner, or vehicle, use this simple setup:
- Put bulky, durable items in stackable hard bins.
- Use soft totes or duffels for clothing, bedding, and awkward spaces.
- Keep small tools, chargers, first-aid supplies, and cooking tools in packing cubes or pouches inside each larger bin.
- Label every container by activity or kit, such as “camp kitchen,” “sleep system,” or “weekend tent.”
- Store rarely used seasonal gear higher up, and keep grab-and-go essentials at waist height.
Camping gear can take over a home fast. A tent, sleeping bags, stove, lanterns, shoes, and loose cords may not seem like much on their own, but they become a frustrating pile when packing day arrives. A clear system protects your equipment, saves floor space, and makes a last-minute weekend trip far easier to manage.
I am Anthony Denha, President of Handle With Care Moving & Delivery. Through planning careful moves and helping people make better use of limited space, I have seen how practical storage for camping gear can turn cluttered closets, garages, and spare rooms into organized, usable storage areas.
Essential Solutions and Storage for Camping Gear
To build a reliable system, we start by choosing the right container for each job. Camping gear generally falls into three functional container types: rigid boxes with secure lids, open-top baskets or soft totes, and structured gear pods. Trying to throw every item into one gigantic, deep plastic bin is a recipe for chaos—you inevitably end up digging through cooking gear and flashlights just to find a tent stake at 11 PM on a Friday.
Rigid boxes give us impact protection, vertical stackability, and weather seals against moisture or pests. Soft totes, on the other hand, provide flexible walls that squeeze into tight vehicle footwells or awkward closet corners. Small structured pods keep sub-items grouped inside your larger containers. When combined, these elements transform a chaotic pile of nylon and metal into a modular, plug-and-play system.
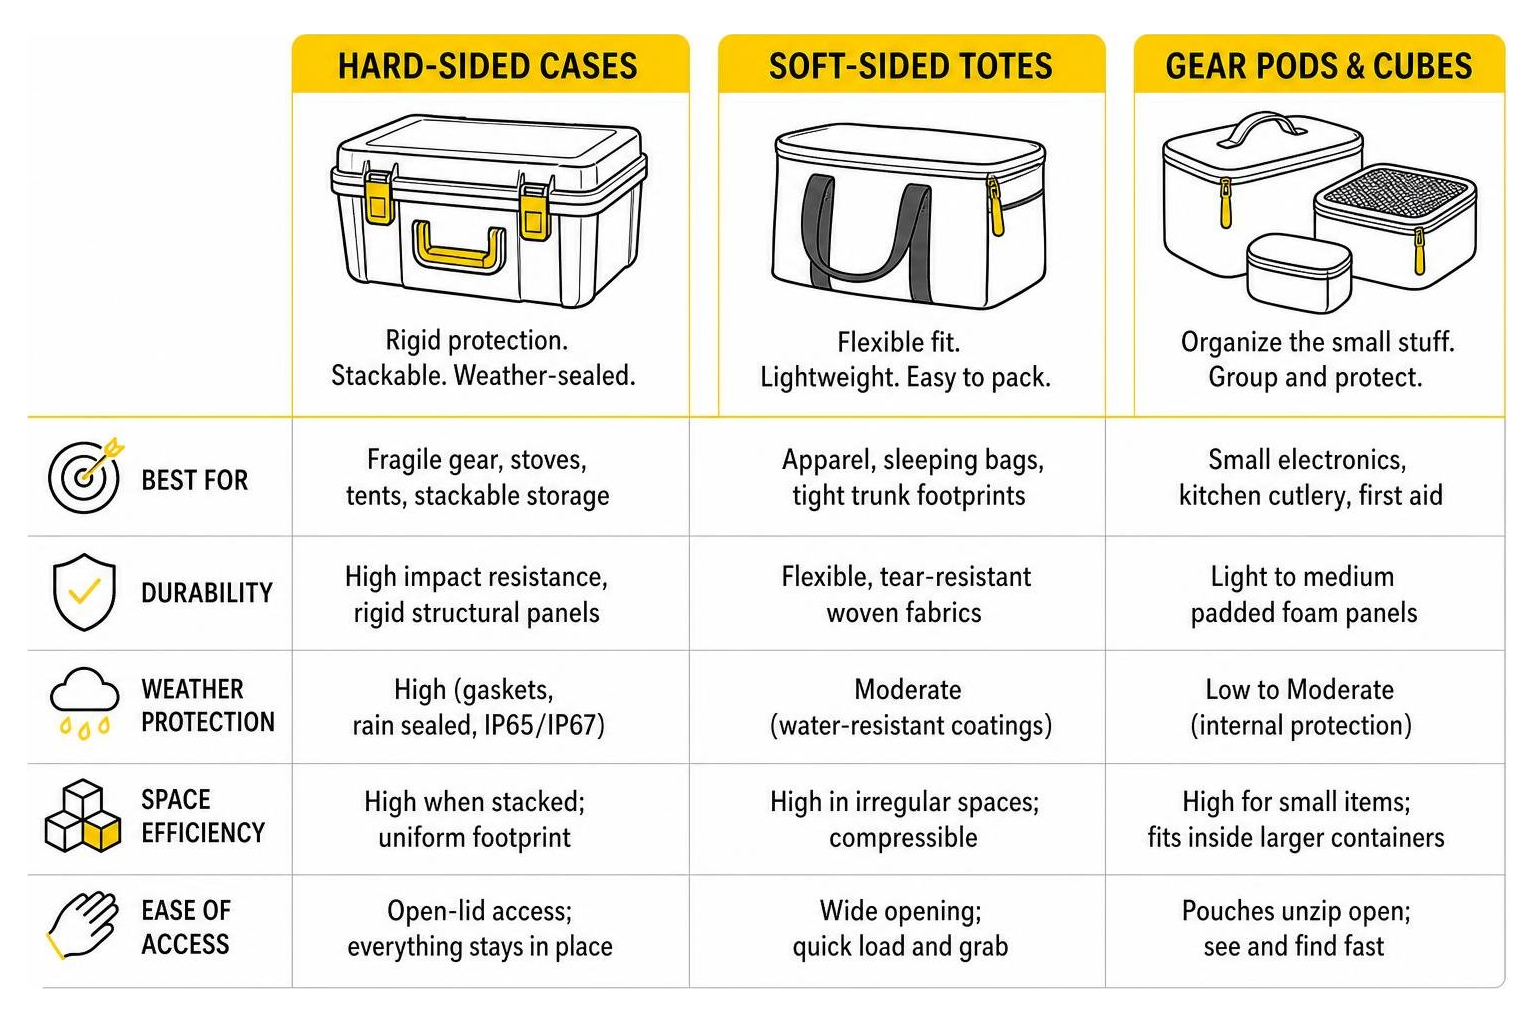
| Feature | Hard-Sided Gear Boxes | Soft-Sided Totes & Duffels | Gear Pods & Cubes |
|---|---|---|---|
| Best For | Fragile gear, stoves, tents, stackable storage | Apparel, sleeping bags, tight trunk footprints | Small electronics, kitchen cutlery, first aid |
| Durability | High impact resistance, rigid structural panels | Flexible, tear-resistant woven fabrics | Light to medium padded foam panels |
| Weather Protection | High (gaskets, rain sealed, IP65/IP67 rated) | Moderate (water-resistant coatings) | Low to Moderate (internal protection) |
| Stackability | Excellent (supports up to 250+ lbs) | Limited (tends to slump or slide) | Fits nested inside larger bins |
| Space Efficiency | Fixed exterior volume | Collapses flat when empty | Maximizes internal bin organization |
Hard-Sided Gear Boxes vs. Soft Totes
Choosing between hard-sided gear boxes and soft totes comes down to where you are storing the items and how much protection they need.
Hard-sided boxes excel when vertical space is your primary asset. In a garage corner or an apartment storage unit, heavy-duty rigid boxes allow you to stack four or five units high without crushing fragile gear inside. High-end protective containers, such as the YETI Gobox 60 Gear Case, feature IP65 or IP67 ratings, meaning they resist high-pressure water jets and full submersion, keeping dust, snow, and rain out of your gear during transport in open truck beds.
Soft totes and flexible duffels offer distinct advantages when vehicle trunk space is limited. Rigid bins have fixed dimensions; if your trunk geometry is irregular, a hard bin creates dead space around its corners. Soft-sided containers made from 840D TPU-coated polyester or 900D ripstop fabric can conform to vehicle footwells, seat backs, or roof cargo boxes. Furthermore, heavy-duty fabric bins with foam-reinforced panels offer enough structure to stand upright while loading, but fold down under 4 inches high when empty.
Sizing Guide: Finding the Right Storage for Camping Gear Containers
Getting container sizing right keeps you from overpacking or making containers too heavy to carry. Here is how standard capacity ranges translate to actual outdoor equipment:
- 30–35L Totes: Ideal for 2–3 apparel outfits, tech chargers, small lanterns, or personal first-aid supplies. These fit comfortably behind vehicle seats.
- 45L Gear Boxes: Perfectly dimensioned for a 2-person tent, 1–2 sleeping bags, or a full climbing harness and helmet setup. A 45L box remains nimble enough for one person to lift easily.
- 70–75L Baskets & Boxes: Designed for bulky camp kitchen hardware, double-burner propane stoves, cookware sets, or large basecamp tarps.
- 80L+ Heavy Duty Haulers: Rugged, large-capacity gear haulers like the Thule Chasm Gear Hauler handle extended multi-day setups or winter gear.
- 27-Gallon Heavy-Duty Totes (~102L): A classic standard for budget-friendly garage storage. Large enough to store complete backpacking packs, tarps, and sleeping pads without forcing or damaging zippers.
Creating an Activity-Based Kit System for Fast Packing
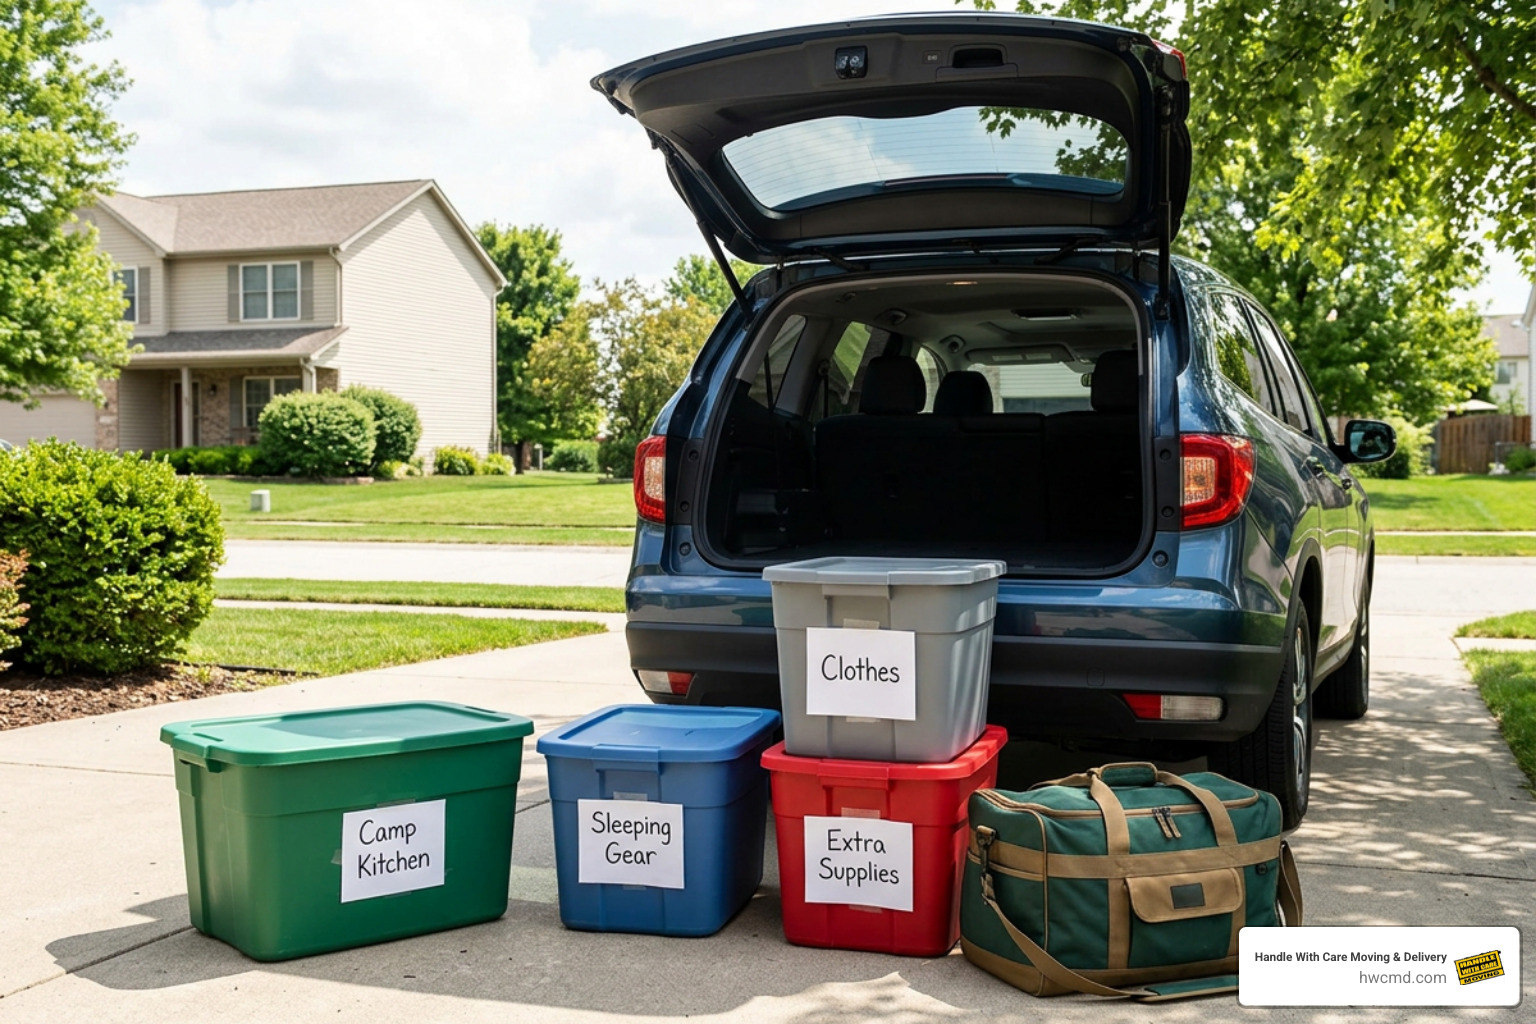
The secret to effortless weekend trips isn’t owning more gear; it’s organizing what you have into activity-based kits. Instead of storing all ropes in one spot, all stoves in another, and all jackets in a third, group equipment by how and when you use it.
When your camping equipment is sorted into modular, grab-and-go kits, loading the car takes five minutes rather than two hours of frantic searching.
The A-Team and B-Team Bin System
One of the most practical strategies we recommend for active outdoor enthusiasts is the A-Team and B-Team bin framework:
- A-Team Bins: Contain your primary, regularly used personal gear for a specific activity. Your A-Team camping bin holds your preferred headlamp, primary sleeping pad, go-to camp stove, and favorite multi-tool. This bin stays packed, labeled, and primed for immediate action.
- B-Team Bins: Store secondary, backup, seasonal, or guest gear. This includes extra sleeping bags for friends, older backup lanterns, spare tent stakes, and heavy winter tarps.
By separating primary gear from backup items, you eliminate 80% of the visual clutter in your primary storage bins. You aren’t sorting through three extra sleeping pads just to find the one you actually use every weekend. For sleek, uniform storage, use durable opaque totes like 27-gallon Commander bins rather than clear plastic bins, which can degrade under UV light and crack when exposed to cold temperatures.
Multi-Sport Organization for Skiing, Climbing, and Camping
If your passions span multiple sports—such as car camping in summer, climbing in spring, and skiing in winter—equipment crossover can quickly clutter your setup. Items like headlamps, first-aid kits, multi-tools, and base layers are used across all three activities.
To prevent mixing up gear or leaving essentials behind:
- Create a dedicated “Core Essentials” pod containing crossover items (first aid, headlamps, pocket knife, fire starter). Move this single pod between your active sport bins.
- Color-code your activity bins or use bold, writable ID patches. For example, use red labels for Camp Kitchen, blue for Winter/Skiing, and green for Wilderness Camping.
- Store sport-specific hardware (carabiners, climbing shoes, ski boots) in dedicated open-top crates or hanging bags nearby so they can air out easily between uses.
- If you need uniform, stackable cardboard or heavy plastic boxes during seasonal transitions, keep sizes consistent so they stack neatly on shelves.
Space-Saving Strategies for Small Living Spaces and Apartments
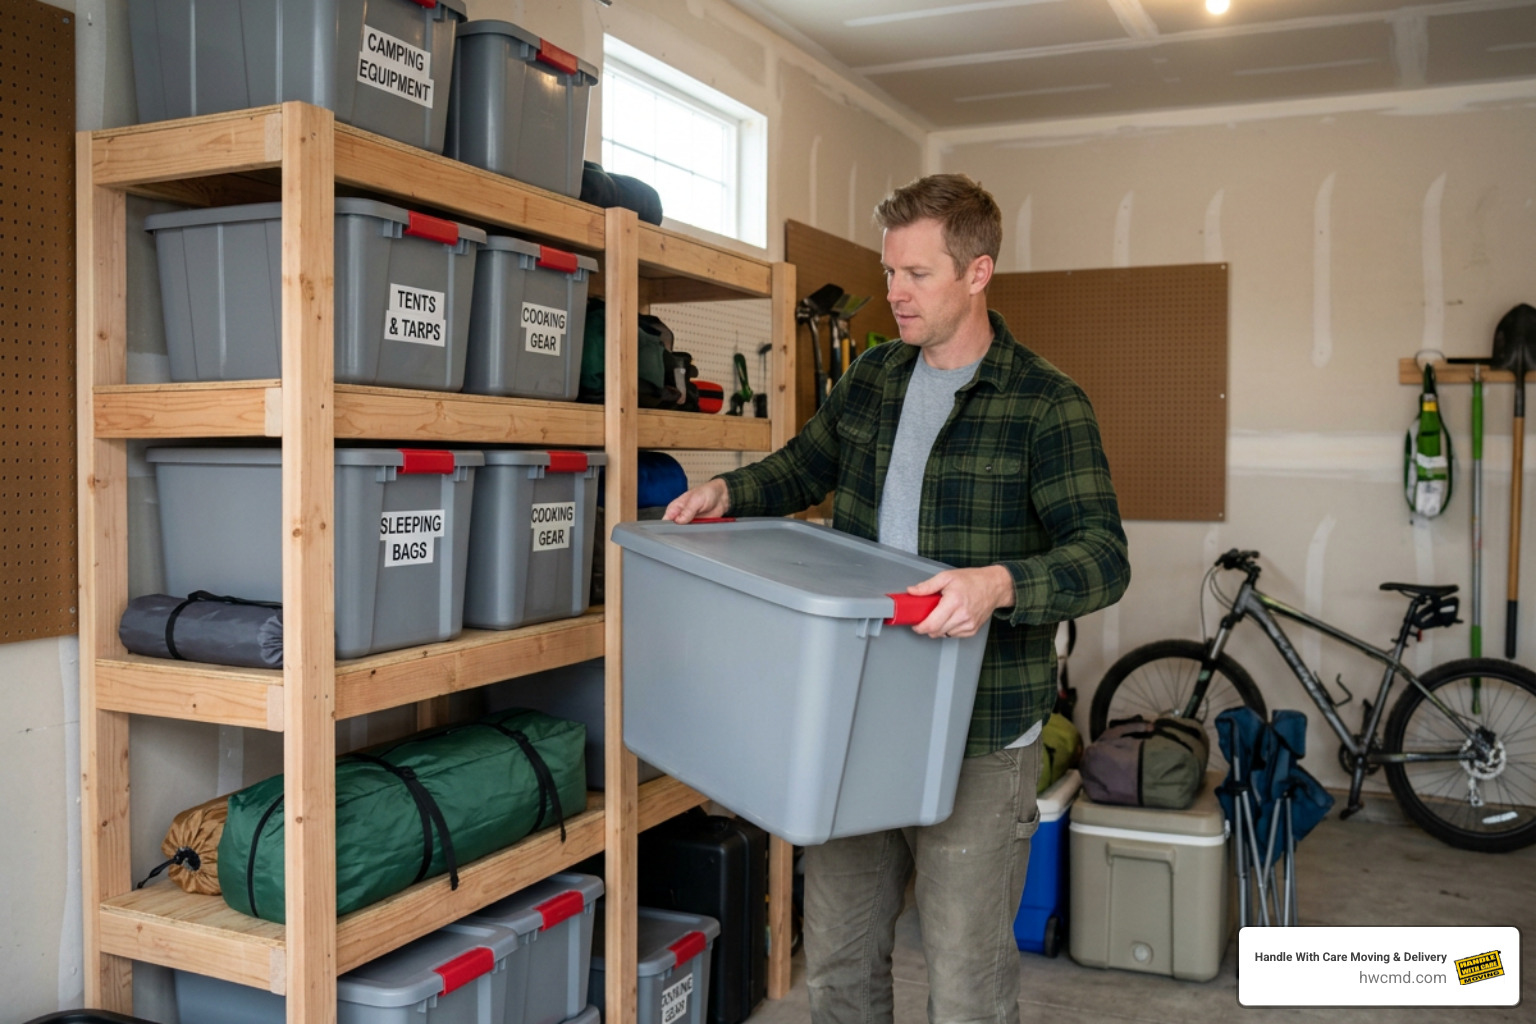
When you live in an apartment or a home without a massive garage, smart storage for camping gear requires leveraging vertical real estate. Floor space is expensive; wall and ceiling space are virtually free.
Maximizing Small Spaces with Vertical Storage for Camping Gear
To get gear off the floor and maximize every square inch, focus on vertical infrastructure:
- Industrial Steel Shelving: A standard 5-tier industrial steel freestanding garage shelving unit (rated up to 1,800 lbs per shelf) can fit four 27-gallon totes per shelf. A single 4-foot footprint can store up to 16 full gear totes when built vertically.
- Heavy-Duty Wall Rail Systems: Wall-mounted rail systems with 50-lb rated hooks allow you to store heavy items like e-bikes, folded camp chairs, and rolled tents vertically off the ground.
- Metal Pegboard Walls: Installing metal pegboards (using 2×2 inch wooden spacer strips behind them for hook clearance) turns an empty closet wall into an organized gear gallery for helmets, ropes, headlamps, and backpacks.
- Door and Rod Extensions: In apartment closets, install hanging extension rods to create a double-tier closet setup, or use sturdy over-the-door hooks to hang sleeping bags in breathable storage sacks.
- If you are reorganizing a dedicated room or transitioning between homes, dedicated storage units provide climate-controlled safety for surplus gear.
Organizing Small Accessories, Electronics, and Kitchen Supplies
Small items are the easiest to lose and create the most frustration when misplaced. Instead of letting cables, repair patches, and spice jars bounce around at the bottom of a large bin, build a layered sub-organization system:
- Structured Gear Pods: Use 5L to 10L structured foam pods for small electronics, power banks, and headlamps. Padded walls protect screen surfaces and sensitive lenses.
- Clear Mesh Packing Cubes: Store small camp kitchen cutlery, matches, and stove repair kits in zippered mesh packing cubes. The mesh lets you visually verify contents without opening every pouch.
- Shallow Kitchen Layouts: Store camp kitchen items in wide, shallow bins (around 45L) rather than deep vertical tubs. A shallow layout keeps delicate camp stoves, fuel canisters, and spice kits visible in a single layer.
- For detailed packing methods and gear protection strategies during transport, consult our practical guide on Packing 101.
Off-Season Maintenance and Long-Term Gear Care
Proper off-season care directly extends the lifespan of expensive outdoor equipment. Storing gear wet, dirty, or compressed can ruin waterproof coatings, invite mold growth, and permanently destroy sleeping bag insulation.
Protecting Gear from Moisture, Mildew, and Pests
Moisture is the primary enemy of stored camping equipment. A tent stored slightly damp in a sealed plastic bin will develop mildew and polyurethane breakdown within weeks, leaving behind an unpleasant odor and compromised waterproofing.
- Thorough Washing and Drying: Never store tents, rain flies, or sleeping bags directly after a trip. Pitch tents in the yard or room for 24 hours until bone dry. Clean off mud and salt residue using gentle soaps.
- Desiccant Packets: Place two to three large silica gel desiccant packets inside every sealed plastic storage bin to absorb residual ambient humidity.
- Elevated Storage for Pest Control: Mice and insects are attracted to natural fibers, food crumbs, and stored boots. Keep footwear, sleeping bags, and soft goods elevated on high wire racks or metal shelves rather than sitting directly on garage floors.
Uncompressing Sleeping Bags and Self-Inflating Pads
Compression sacks are designed exclusively for compact trail transport—never for long-term home storage.
- Down and Synthetic Sleeping Bags: Prolonged compression breaks down down plumes and synthetic fibers, permanently eliminating air pockets that trap body heat. Store sleeping bags loosely uncompressed inside large, breathable mesh/cotton storage sacks, or hang them from wide wooden clothes hangers in a dry closet.
- Self-Inflating Foam Sleeping Pads: Self-inflating pads rely on open-cell internal foam that expands when unrolled. Store these pads flat under a bed or hung up with their valves open. This allows the foam memory to remain open and buoyant for your next trip.
Frequently Asked Questions About Camping Equipment Organization
What size storage box do I need for my camp kitchen?
A 45L to 70L bin is generally ideal for a standard camp kitchen setup. A 45L box accommodates a compact stove, cookware, plates, and utensils for 2–4 people. If you use a heavy, double-burner propane stove and cast-iron cookware, upgrade to a 70L open basket or box. Choose shallow bins with secure, dual-latch lids and gasket seals to protect food preparation items from insects, dirt, and camp critters.
How do I prevent mold and mildew in sealed plastic bins?
First, ensure every item is completely dry before placing it in storage. Second, toss a few silica gel desiccant packets into each bin to trap residual ambient moisture. If you store bins in unconditioned spaces like sheds or non-climate-controlled garages, open the bins during seasonal transitions to let fresh air circulate.
What is the best way to handle toiletries at campgrounds?
Campground bathrooms often lack dry counter space, hooks, or clean floors. Keep your toiletries and quick-dry travel towels inside a small, rigid plastic caddy or tote with a drain-holed bottom and a sturdy carrying handle. This setup lets you set your kit down cleanly on wet concrete shower floors without getting your personal items dirty or soaked.
Conclusion
Mastering storage for camping gear in small spaces comes down to three core principles: select the right modular containers, categorize equipment into activity-based kits, and utilize vertical storage space. By separating primary gear from backup items and protecting your investments with proper cleaning and uncompressed storage, you eliminate packing stress and reclaim valuable living space in your home.
When life calls for a change of scenery, seasonal moves, or a complete home reorganization, Handle With Care Moving & Delivery is here to help. Whether you need expert assistance relocating your home, moving heavy equipment, or finding flexible options for moving and professional storage solutions, our experienced team treats your gear and belongings with the utmost care. Contact us today to learn how we can make your next transition smooth, safe, and stress-free!